1.去官网注册账号
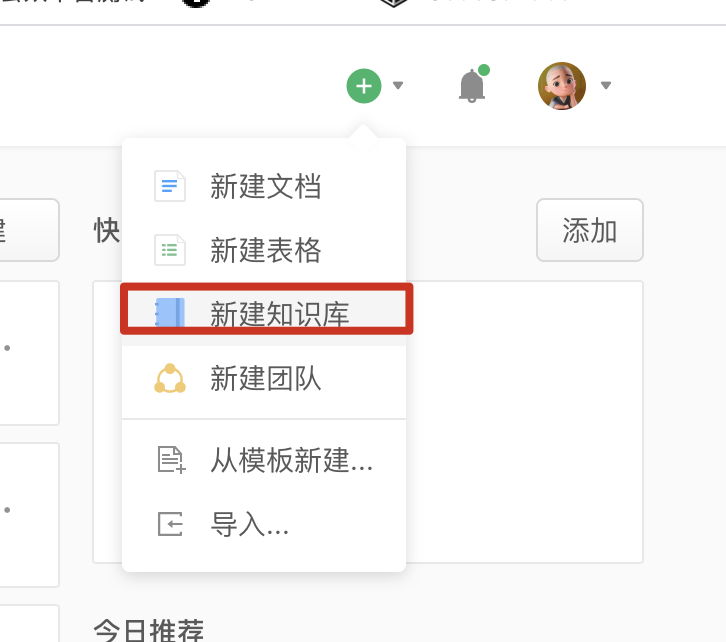
2.创建知识库
3.点击当前知识库的设置
获取当前知识库的登录名和路径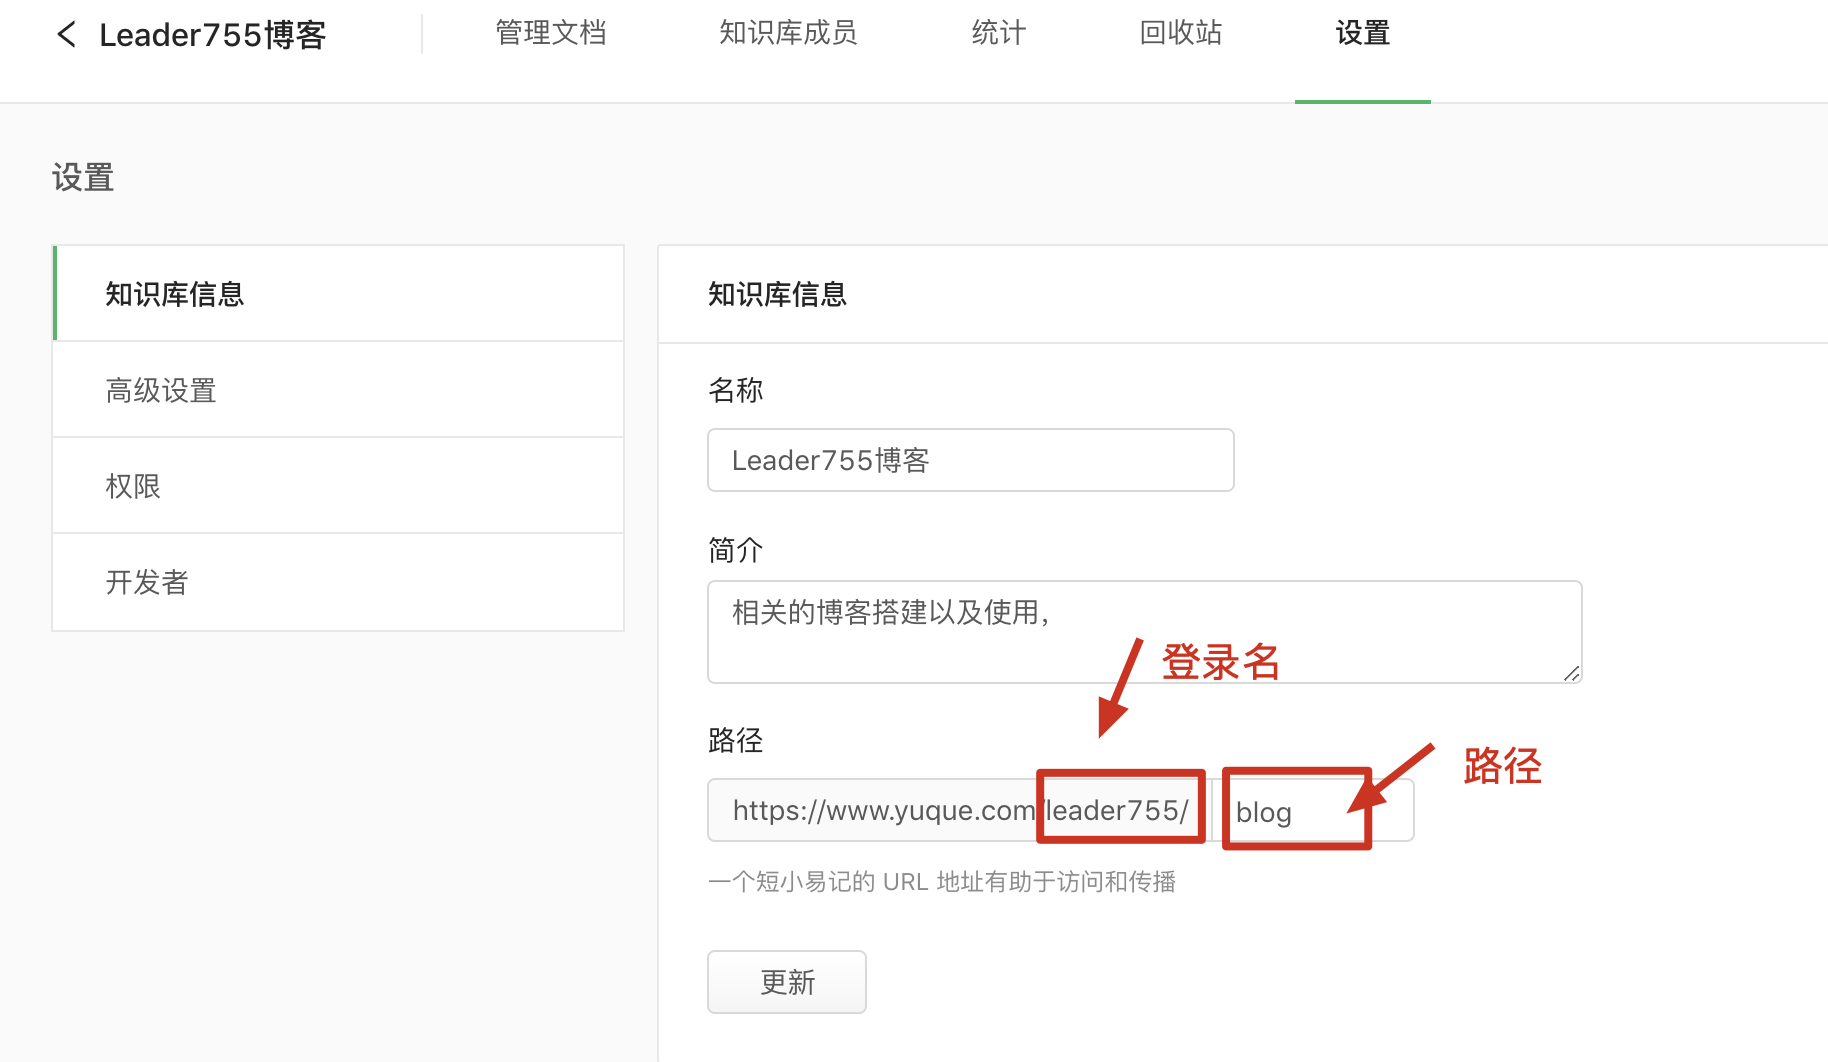
4.在将语雀文档同步到 hexo
//先安装 yuque-hexo
npm i -g yuque-hexo
1) 修改 package.json,增加配置:
"yuqueConfig": {
    "postPath": "source/_posts/yuque",
    "cachePath": "yuque.json",
    "mdNameFormat": "title",
    "adapter": "hexo",
    "concurrency": 5,
    "baseUrl": "https://www.yuque.com/api/v2",
    "login": "leader755",
    "repo": "blog",
    "token": "在语雀上申请的 token",
    "onlyPublished": false,
    "onlyPublic": false
},| 参数名 | 含义 | 默认值 |
|---|---|---|
| postPath | 文档同步后生成的路径 | source/_posts/yuque |
| cachePath | 文档下载缓存文件 | yuque.json |
| mdNameFormat | 文件名命名方式 (title / slug) | title |
| adapter | 文档生成格式 (hexo/markdown) | hexo |
| concurrency | 下载文章并发数 | 5 |
| baseUrl | 语雀 API 地址 | - |
| login | 语雀 login (group), 也称为个人路径 | - |
| repo | 语雀仓库短名称,也称为语雀知识库路径 | - |
| onlyPublished | 只展示已经发布的文章 | false |
| onlyPublic | 只展示公开文章 | false |
slug 是语雀的永久链接名,一般是几个随机字母。
2)在 package.json 添加 scripts
//添加以下命令行
{
  "sync": "yuque-hexo sync",
  "clean:yuque": "yuque-hexo clean"
}
目前为止 scripts 命令行为
"scripts": {
    "build": "hexo generate",
    "clean": "hexo clean",
    "deploy": "hexo deploy",
    "server": "hexo server",
    "sync": "yuque-hexo sync",
    "clean:yuque": "yuque-hexo clean"
  },
3)关于在语雀上申请 token
点击账户个人–>设置 –>Token–>新建 token
5.同步语雀文档到本地 hexo
//同步文档
yuque-hexo sync

//清除本地缓存
yuque-hexo clean